
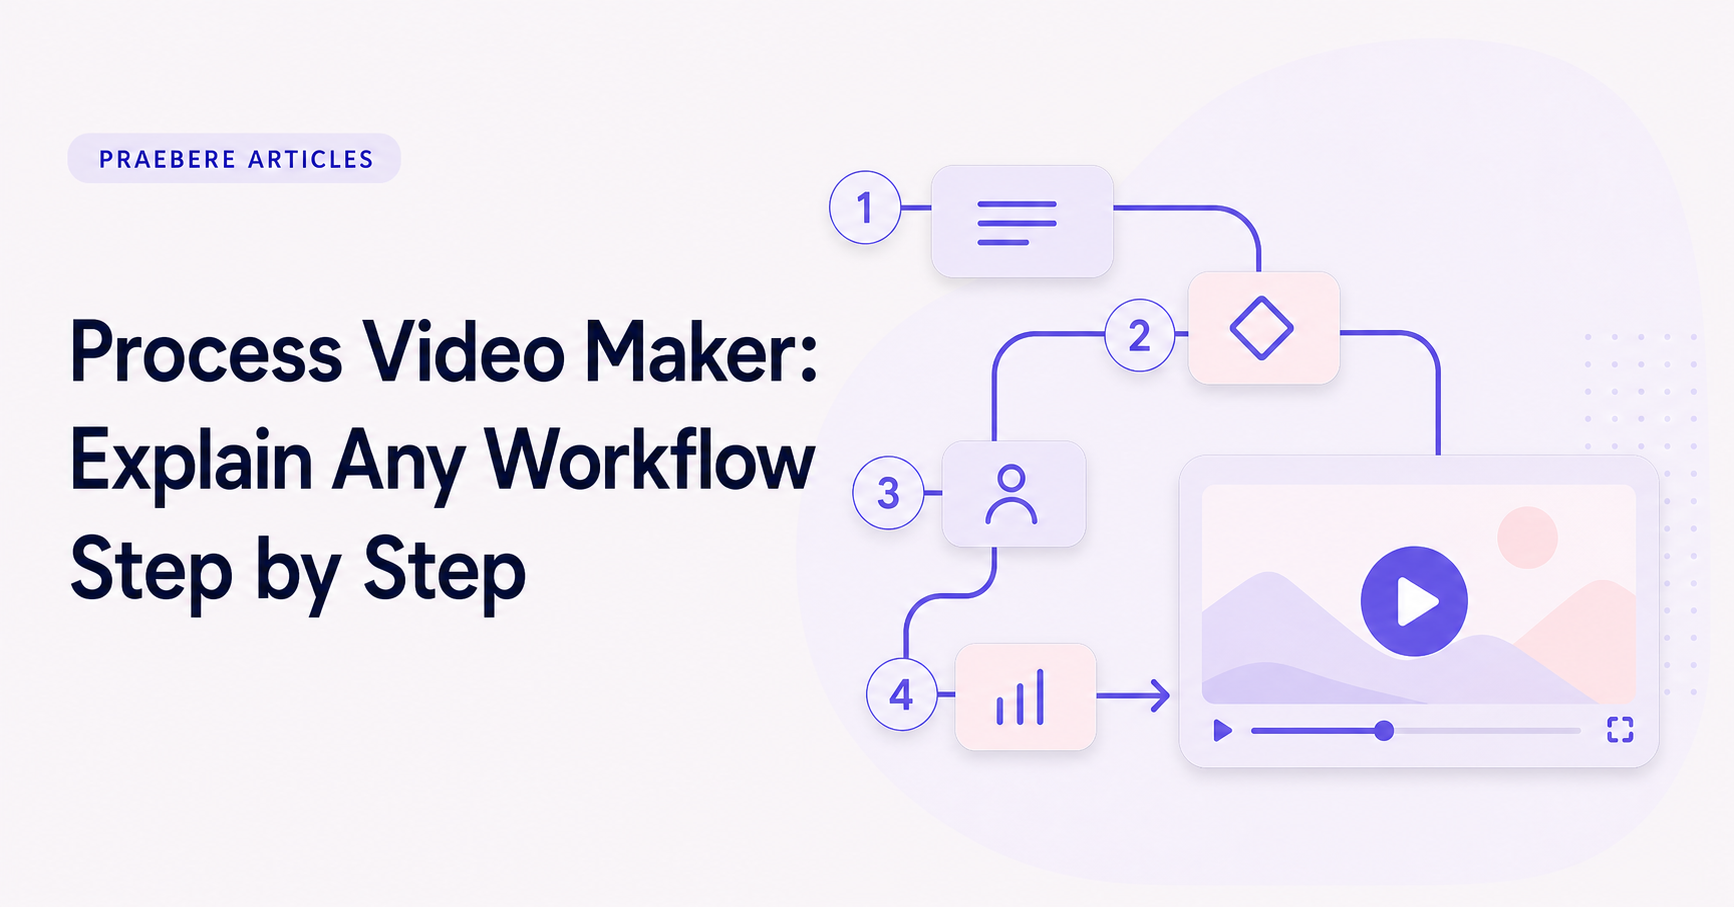
A closer look at the decisions behind “Process Video Maker: Explain Any Workflow Step by Step”
The value of “Process Video Maker: Explain Any Workflow Step by Step” becomes clearer when attention shifts to “Choose a process with a clear boundary.” A process model needs an explicit scope, start and end events, actors, inputs, outputs, decisions, exceptions, and ownership.
The practical challenge begins when general advice meets real content, real constraints, and a real audience. Where does the process truly begin and end, who owns each handoff, and what happens outside the ideal path? Could a new participant follow the decisions and exceptions without relying on undocumented knowledge? The sections ahead use these questions to move from the central idea to concrete decisions, technical criteria, and an applied example.
Choose a process with a clear boundary
Good process videos begin and end at recognizable moments. “From receiving a support request to closing the ticket” is easier to explain than “how support works.” A clear boundary prevents the diagram from expanding into unrelated policies and systems.
Identify the audience as well. A new employee needs context and definitions; an experienced operator usually needs exceptions, handoffs, and decision criteria.
Capture the process as it actually happens
List actions, decisions, handoffs, documents, and outcomes before polishing the diagram. Speak with the people who perform the process and note where the official procedure differs from daily practice.
Do not hide complexity by drawing a false straight line. If an approval can fail or information can return for correction, show that loop. The value of a workflow video is making those relationships understandable.
Create a consistent visual language
Use shape and color consistently. Actions might use neutral rectangles, decisions a distinct outline, and completed outcomes a restrained accent color. Consistency lets the viewer recognize meaning before reading every word.
Connectors should make direction obvious. Label branches with specific outcomes such as “approved” and “needs revision,” rather than vague labels that depend on narration.
- One action per node.
- One direction of travel where possible.
- Visible owners at important handoffs.
- A clear final state for every branch.
Turn the map into a guided video
Set the order according to the explanation, which may differ from the drawing order. Begin with the main path, pause at decisions, and introduce uncommon branches only after the viewer understands the standard flow.
Use smooth camera movement to preserve spatial context. The audience should feel that it is moving through one connected system, not watching unrelated slides.
Keep the source editable
Processes change, so retain the editable diagram and narration files. When a policy or handoff changes, update the affected nodes and record only the necessary steps again.
In Praebere, the diagram is both the planning surface and the visual source of the video. That makes it practical for process owners who need to revise the explanation without rebuilding a traditional editing timeline.
Technical implementation notes
A process model needs an explicit scope, start and end events, actors, inputs, outputs, decisions, exceptions, and ownership. Use consistent symbols and verb-led activity labels, and separate the normal path from failures, retries, escalations, and manual review.
Validate the model by walking through real cases with the people who perform the work. Record assumptions, system boundaries, rule sources, version, owner, and review date so the diagram remains traceable instead of becoming an attractive but stale picture. The most relevant concepts here are process video maker, workflow video, process presentation. Define them when first used and apply each term consistently to an observable element, rule, or outcome.
- Every branch has a labeled condition
- Activities identify an action and responsible actor
- Exceptions and handoffs are visible
- The model has an owner and review trigger
Worked example: Process Video Maker: Explain Any Workflow Step by Step
Take a purchase request that begins with employee submission and ends with approval, rejection, or revision. Identify the requester, manager, finance team, and system; label the decision thresholds; and add branches for missing receipts, budget exceptions, duplicate requests, and timeout escalation.
Walk through a routine request and two edge cases with process owners. If participants disagree about a branch, record the governing rule and owner instead of choosing the visually simplest route. The corrected diagram can then become the sequence for a narrated presentation.
Conclusion
The article’s main threads—choose a process with a clear boundary, capture the process as it actually happens, create a consistent visual language, turn the map into a guided video, and keep the source editable—lead to a shared lesson: the quality of “Process Video Maker: Explain Any Workflow Step by Step” can be tested. Technical criteria and a realistic example make strengths, omissions, and consequences visible.
In our view, a process visual becomes trustworthy only when it includes real decisions, responsibilities, handoffs, exceptions, and outcomes. The neatest diagram is not necessarily the most truthful one.
Create the visual journey
Turn your process into a presentation
Build the diagram, choose the sequence, add narration or webcam video, and preview the camera movement in your browser.
Open Praebere